A fish finder transducer is an instrument through which the presence of a fish can be traced underwater. This instrument usually displays the measurement, which helps determine the location of the fish and interprets information about them.
This instrument’s working is sending out sound waves and then receiving the echoes to calculate what is underneath. The waves bounce back if they hit something like a fish, which gives the operator the idea of something being under the sea.
Fish finder transducers are considered an essential component of fishing as they can make the fishing experience much more comfortable and better, which is why its demand is continuously growing. Moreover, once you have successfully installed the fish finder transducer, you can benefit for up to 20 years.
But the real question is how to install a transducer? What are the steps and tools required for installing a transducer? Keep scrolling to find out the answers related to every query regarding a transducer.
Table of Contents
How fish finder transducer work
The first important detail to know about a fish finder transducer is of how it functions. To explain in the simplest terms, a transducer sensor is like a combination of a speaker and a microphone.
Just like regular speakers, a fish finder transducer also receives high voltage electrical pulses, formally known as transmit vibrations, from the echosounder and converts it into sound.
These waves are sent into the water. When the waves hit an object like a fish or a rock, it bounces back, and when this happens, the transducer functions as a microphone by converting these waves into electrical energy.
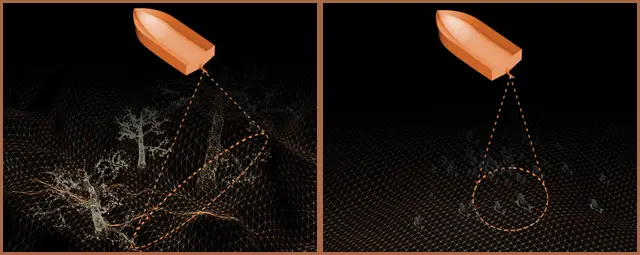
Then, with the help of the echosounder, the time difference between the waves or echoes and the transmit pulses are measured through which logical interpretations and information are displayed on the screen.
The screen is the ultimate source of information. The person using the fish finder transducer can make a final analysis of whether there is a fish in that particular area of the sea or not by looking at the data and information displayed on the screen.
In this way, the fish finder transducer functions as the core element of the echosounder. It works efficiently to find the fishes and make ultimate analysis on whether there is something underneath or not.
Tools required for transducer installation
So now that we have discussed how the fish finder transducer functions, it is time that we consider the tools that are required for installing a fish finder transducer before finding out how to install a transducer. And to know the ways and the tools that will be needed to install the fish finder transducer, read the following points.
1. Silicone grease or petroleum jelly
The first thing required for installing a fish finder transducer is silicone grease or petroleum jelly. The hull surface is usually not smooth enough for the fish finder transducer to mount and function, which is why the need for silicone grease or petroleum jelly comes in.
2. Fish Finder
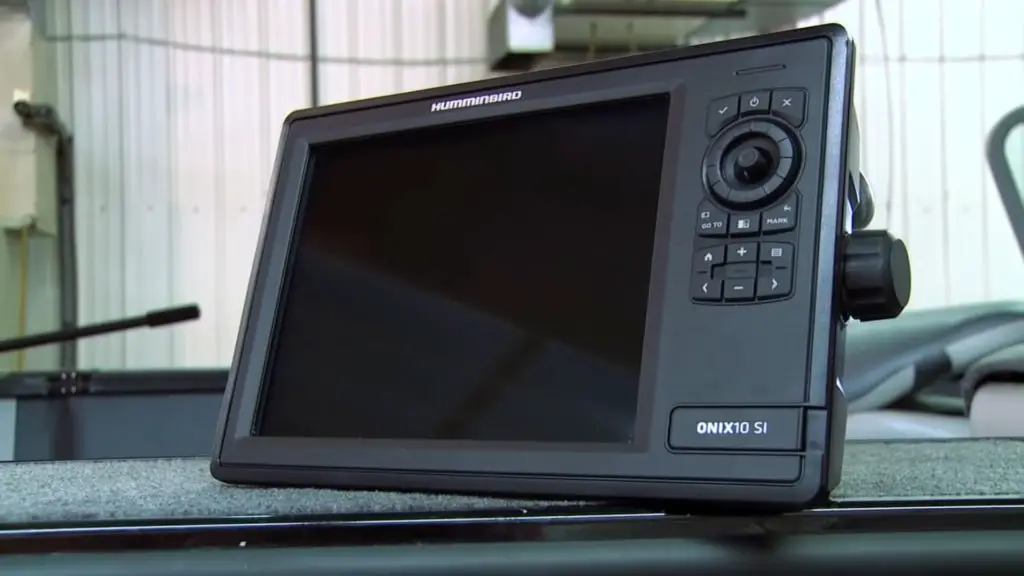
Another important thing that you will need when installing the transducer is the best fish finder. A new fish finder comes with the whole kit of requirements, including the transducer sensor. However, they are also available to buy solely in case you already have a transducer.
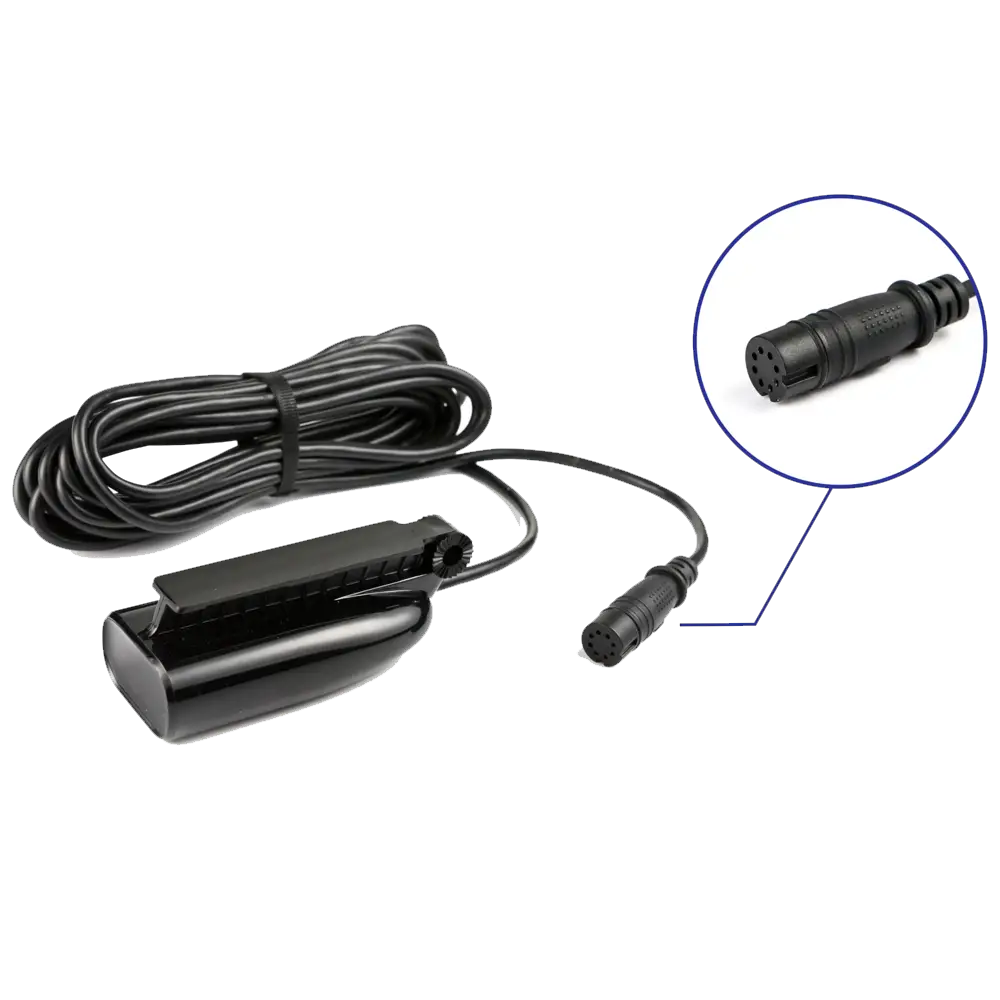
3. Transducer
The main element that you will need is the transducer itself. In case you are a beginner, then we will recommend you to buy the stock transducer as it comes with the proper instructions and kit required.
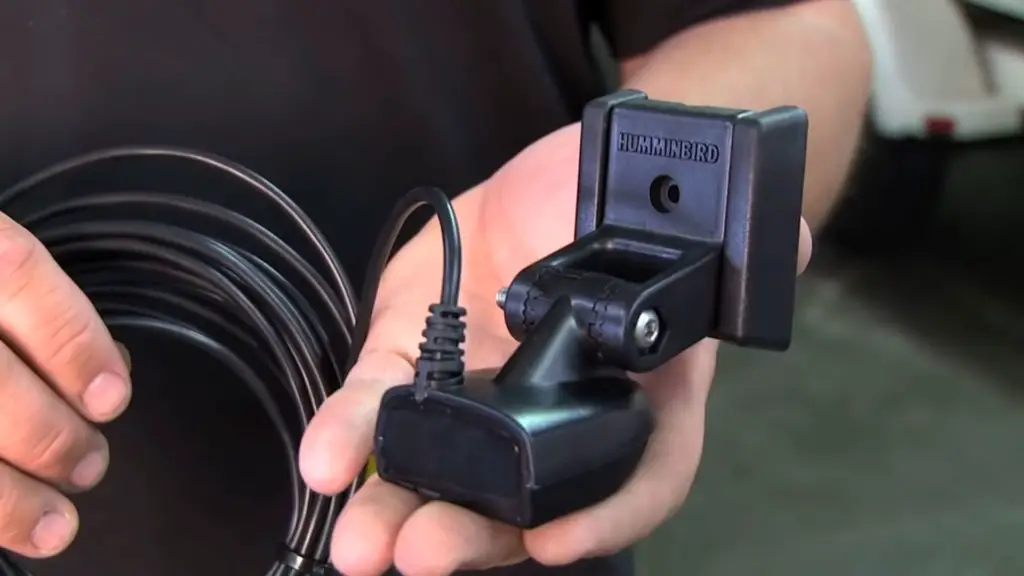
4. Mounts
Another important thing you will need to install the fish finder transducer is the mount. Fishfinders generally come with the kit that includes the binnacle mount, and the transducers come with the transom mount.
5. Drill
The power drill is another component required for installing a fish finder transducer. You will need to drill holes in different areas and parts of the installation process, and for that, you will need a power drill.
These are the essential elements that are a must to have when installing the fish finder transducer. There may be the requirement of more things based on the type of fish finder transducer you are mounting. Now that the tools required for installing a fish finder transducer are known, it is time to get the answer of how to install a transducer.
Steps to install Transducer
There are some mandatory steps to follow to install a transducer. These steps are explained in sequence in the following points :
1. Find the Best Location
The first thing that is recommended to do is to find the best location. It is necessary to keep the fish finder close to the center of the helm so that you get the best viewing angle.
Also, ensure that the chosen location has enough asses to turn or rotate the unit without hitting the windshield or any other item. Ensure that the area beneath has enough room for wires and other essential elements as the fish finder requires electricity, which runs through wires and cables.
2. Install the binnacle mount
The next thing you will have to do is to install the binnacle mount. Once you have found the perfect location and have ensured its clearance of space, you are ready to install the binnacle mount.
Place the binnacle mount on the selected location and bring out the power drill to start making holes for the installation process of the binnacle mount. You will have to create an extra hole for the passage of cables and wires.
Make sure that the hole is wide enough for the cables to pass through without getting tangled easily. Do not twist the wires to make them pass through the hole as it will later cause problems with the functioning of the fish finder transducer.
It is recommended to mark the holes with the help of a marker and then drill holes to get the accurate results.
To install the fish finder mount, you can fix it with stainless steel bolts. Make sure to give finishing to your locks to avoid the risk of corrosion. Ensure that the bolts are tightly screwed.
Use duct tape under the mounting area and cut out a cable whole from it. Then use silicone grease around this cable whole, and the duct tape will help to hold it and avoid any dripping.
3. The power cables
The next thing you will have to work on is the power cable. You can power the fish finder by connecting it to the cranking battery. By using a cranking battery, you can reduce the chances of interference from other electronic devices.
However, if you feel like installing the cranking battery is messy and complicated as there are too many wires involved, you can choose the fuse as an alternative. It is recommended to install an inline fuse, so in case the power shortage occurs, other electronic devices will remain safe.
Ensure that you install the inline fuse as close to the battery as possible and keep it on the positive lead.
You must choose the correct wire gauge, which will help you to have the best vision on the fish finder.
Most boats have only one fuse block, but in case there are two, you need to connect them accurately. A fuse block regulates power among various circuits, and therefore it is crucial to install them right. Make sure not to connect the power terminals to the battery or fuse until you are finished with the wiring process as that can create an electric shock.
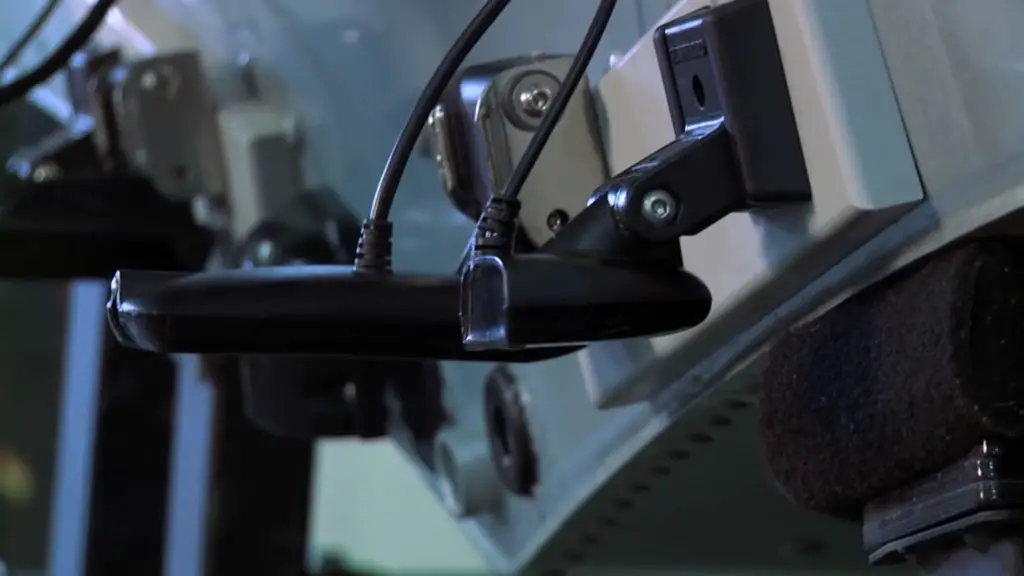
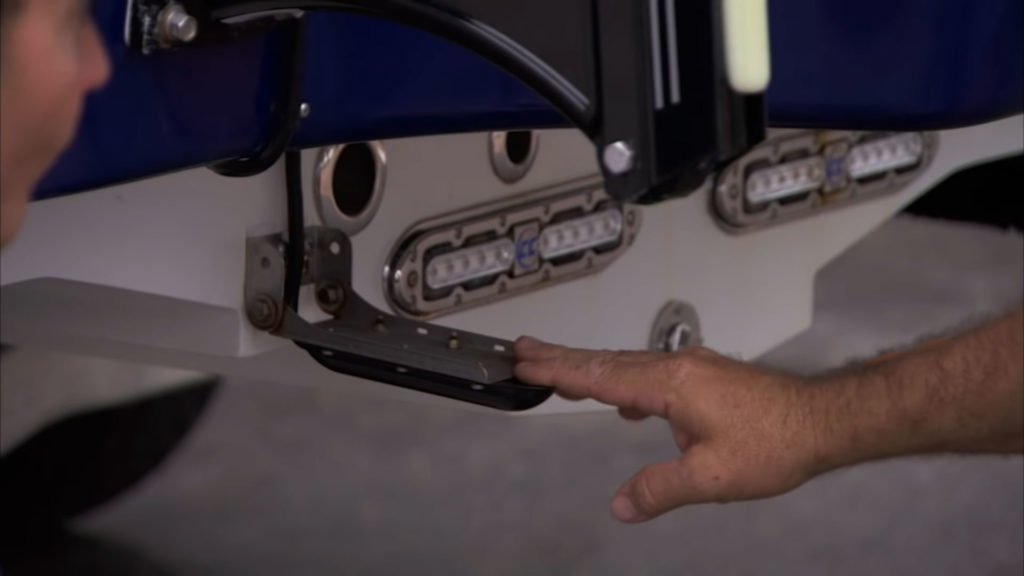
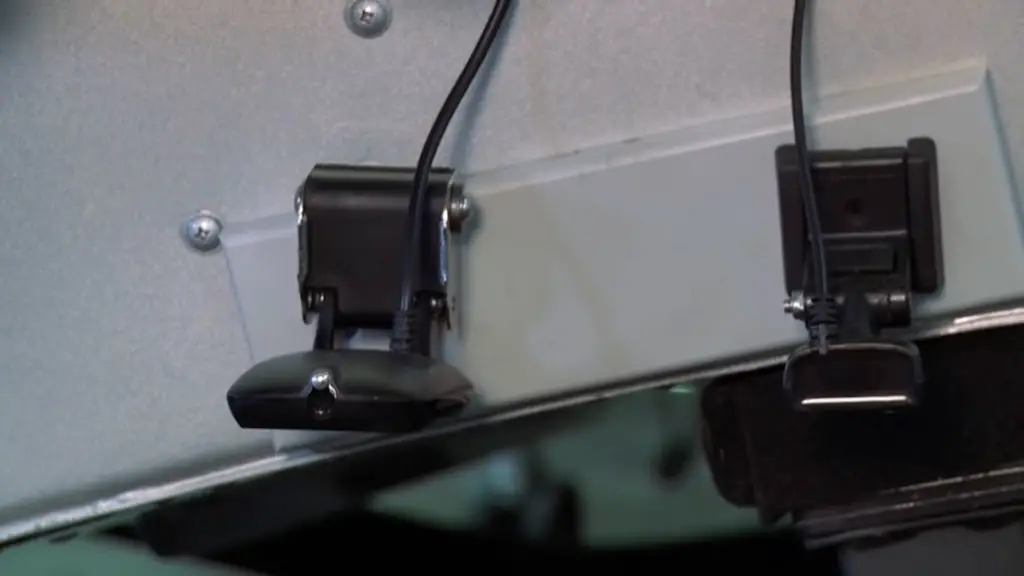
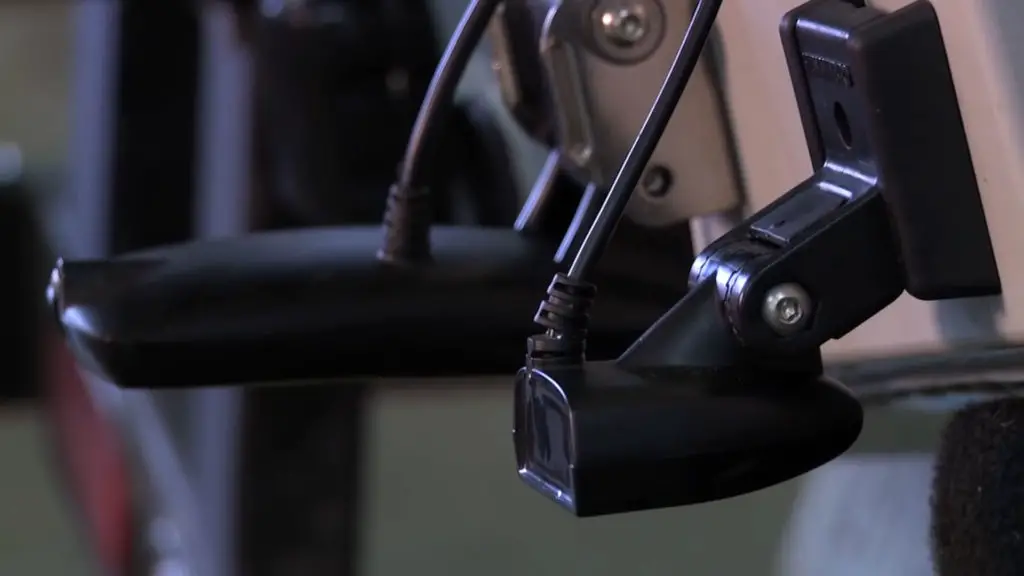
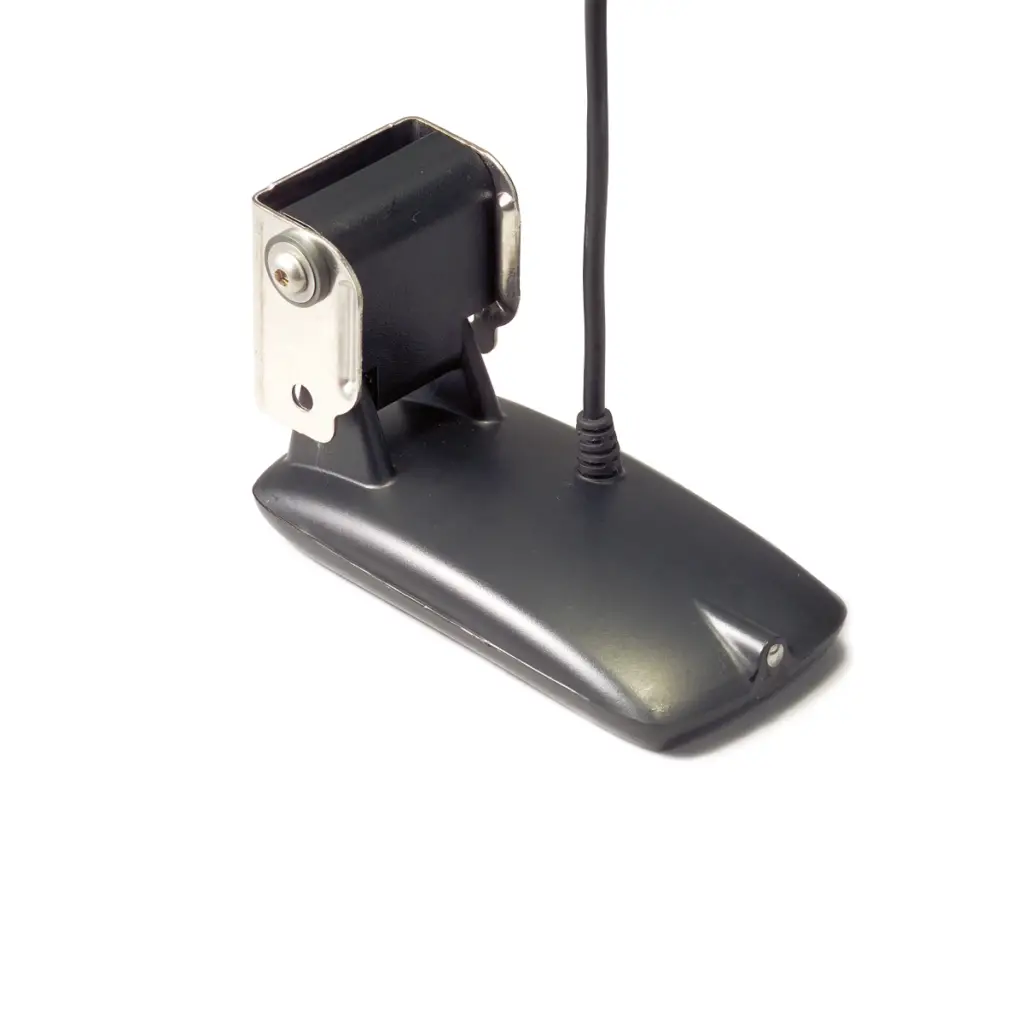
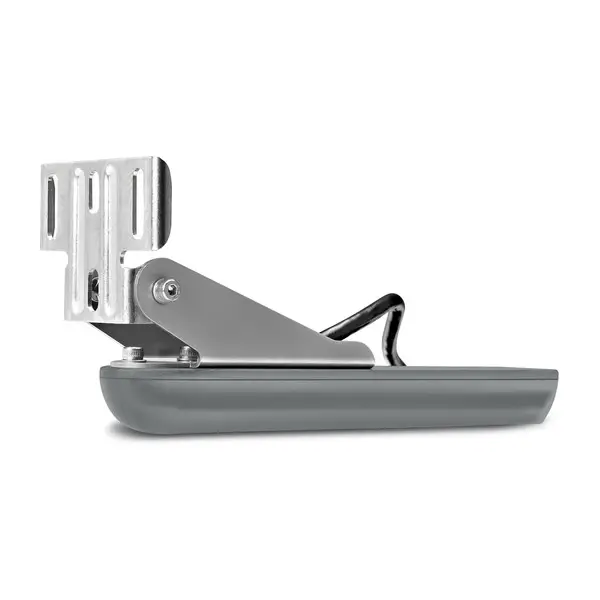
4. Transom mount and transducer installation
The next step is to install the transom mount and the transducer. A transom mount transducer is the most popular and inexpensive option.
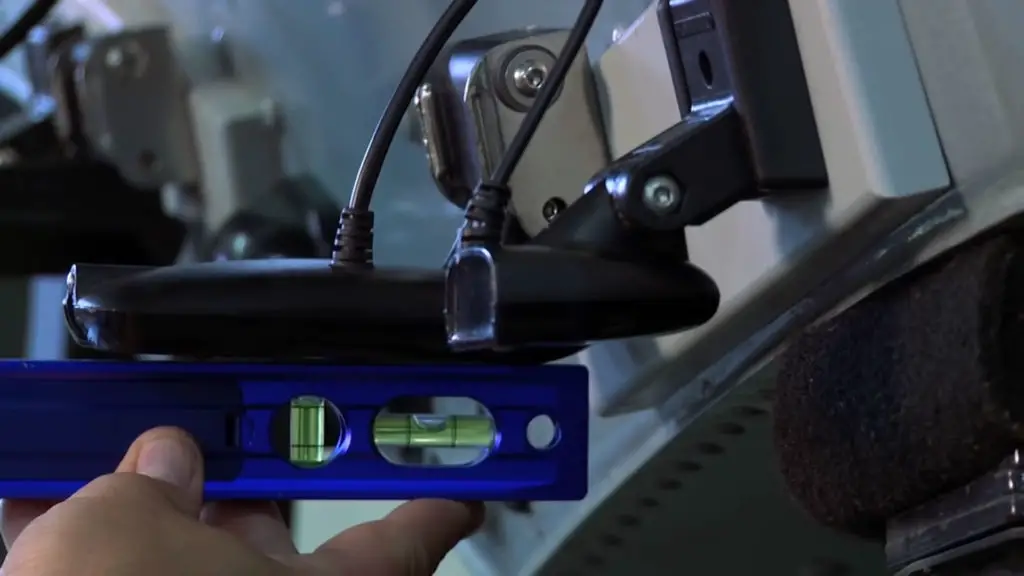
The transducer must be mounted parallel to the ground while the transom mount must be located in a way that does not trouble the transducer in submerging in the water at the planing speed.
Make sure that there are no obstacles around the location, and there is a distance between the mount and the propeller. Ensure to mark holes and fasten the mount.
5. Wiring is crucial
Wiring is vital and, therefore, must be done with extra care. Make sure to follow up on the diagram and instructions provided by the manufacturer to avoid any trouble or mishap.
After doing all of this carefully, you will be ready to install the mounts. Drill holes on the allotted markings for the transom mount, and you can use silicone grease to make it smooth. Fix it in such a way that the transducer lies horizontal to the ground.
Tightly seal the nuts and bolts once everything is located correctly. This is to ensure that everything stays intact, and the water does not go near the transom. Once you are finished with this, you have completed the installation process.
6. Check it out
After completing all of the steps, it is time to check whether the installation has gone well, and everything is perfect. However, wait for at least four days before you run the test.
Once the sealant has completely dried, you can go fishing with your brand new installed fish finder transducer.
Make sure to start the check slowly, and if everything seems fine, then you can gradually increase the speed.
If you get the singles without any hassle and the information is interpreted right, then it means the installation has gone right, and your fish finder transducer is working absolutely fine, and you have been successful in installing it.
Precautions
There are some precautions you must consider while installing the fish finder transducer to make sure the installation process goes successful. These precautions are explained in the points below :
1. Transducer location
Ensure that the transducer is below the water level, and the boat is on plane at high speed. The transducer must be placed horizontally to the ground. The transducer must be parallel to the bottom.
2. Transducer and propeller
Do not mount the transducer in the propeller’s path and make sure there is the distance between them. It is important because the transducer creates cavitation that can harm or completely damage the propeller, ultimately hurting the boat’s performance.
3. Wiring
The wiring is a critical task of installing the fish finder transducer. Make sure not to turn the wires and cables unnaturally and avoid any tangling. Ensure that there is enough space for the cables and wires to go through.
4. Power terminals
Do not connect the power terminals to the battery or fuse until you are finished with the wiring process. Keep this in mind, or else you may face an electric shock.
Keep all of these precautions in mind to safely complete the process of installing the fish finder transducer and successfully completed it. If you follow all the steps correctly and keep these precautions in mind, then only you will be able to install the fish finder transducer successfully.
Tips for installation of the transducer
Now that we have dealt with the question of how to install a transducer, we should look at some additional tips for the purpose. There are some other tips you can follow and keep up with to fix the transducer sensor successfully.
1. Smoothest Location
It is best to choose a location where the flow of water is the smoothest, even at high speed. Avoid any obstacles, turbulence, or even bubbles occurring at any site.
2. Twin drive boats
In the case of twin drive boats, it is best to keep the transducer in between both of them.
3. Instructions on kit
Make sure to strictly follow the instructions given with the kit, including the diagram for the best and accurate results.
Why is it essential to install the transducer correctly?
It is mandatory to install the transducer correctly in order to get the proper functioning of the fish finder transducer. A transducer sensor is said to be the heart of the echosounder and is one of the most essential and essential elements.
A transducer is not only responsible for the transmit pulses, but also responsible for converting them into sound. Without a transducer, interpreting and calculating the presence of fish underneath is not possible. It is essential for a transducer sensor to function appropriately in order to find fishes as the transducer is the core for it.
And the transducer will not function properly if it is not installed correctly, which brings us back to the point of installing a transducer in the correct manner to get the best functioning of it for the best fishing experience.
5 FishFinder Transducer models
Everything regarding fish finder transducer, installation to the precautions, and importance regarding have been dealt with, but one thing is still left. And that is about which model of fish finder transducer is the best.
So here is the list of 5 fishfinder transducer models with their link :
1. Humminbird XHS 9 HDSI 180 T – Transom Transducer
XHS 9 HDSI 180 T Transom Transducer is a power-packed product to help you enjoy their fishing experience. It is one of the best Humminbird fish finder transducers which provides 2D imaging and offers an inbuilt temperature sensor.
- Budget-friendly product
- Inbuilt temperature sensor
- Works perfectly with a wide range of products
- Delivers only 2D imaging
2. Lowrance SplitShot Skimmer Transducer
SplitShot Skimmer Transducer is one of the best budget-friendly Lowrance transducers. The 2 in 1 sonar scanning system provides accurate images, and the smart temperature sensor works precisely in harsh conditions.
- High range coverage with 2 in 1 sonar scanning feature
- Built-in temperature sensor
- Better scanning facilities can be included
3. Garmin Panoptix LiveScope Scanning Sonar System (010-01864-00)
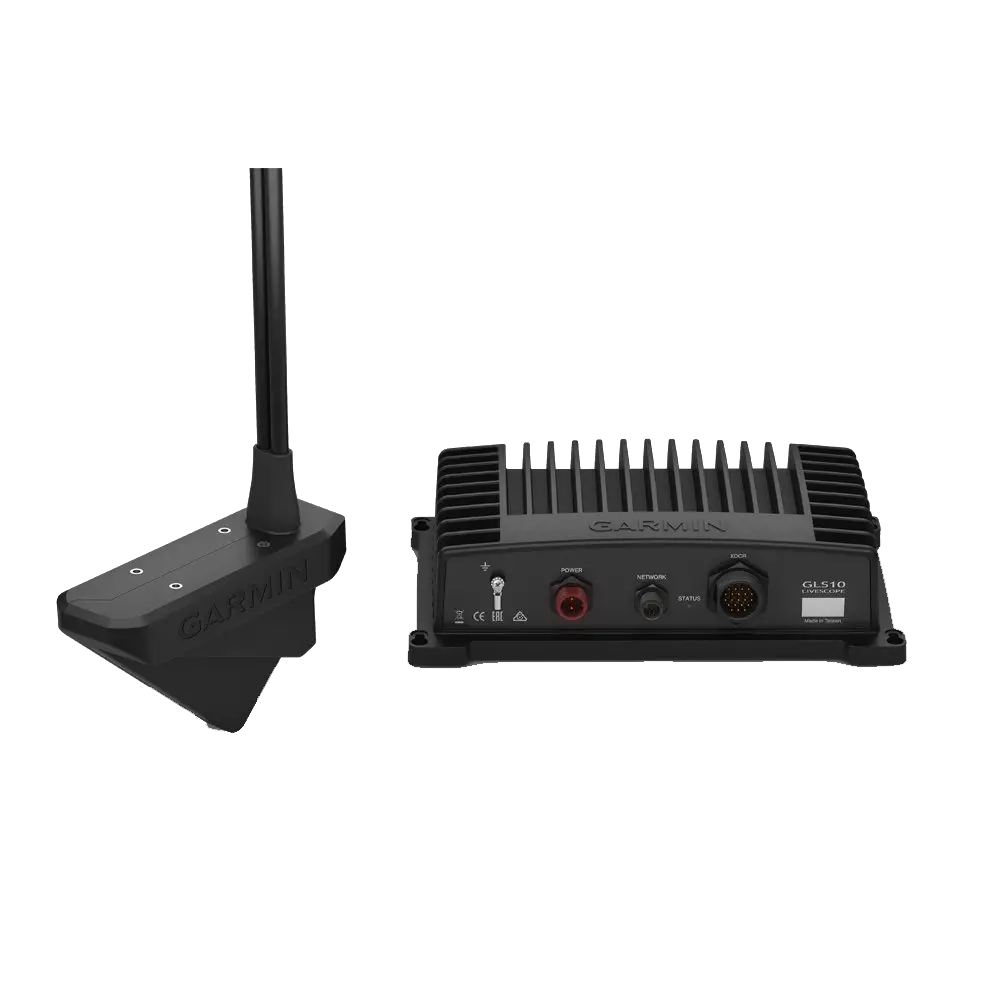
Panoptix is one of the best Gramin fish finder transducers. The transducer has two modes. Panoptix forward and down mode allows you to get a clear image of the fish and bottom surface. With this mounted on the boat and Gramin Striker 4 fishfinder, you will have enjoyable fishing experience. Get the detailed Garmin Striker 4 Review.
- 2 in 1 built-in forward and down modes
- AIRS system technology balances the results even in harsh weather conditions
- Easy mounting system
- A little bit expensive on the budget
4. Lowrance Active Imaging 3-in-1 Transducer

Active Imaging 3-in-1 Transducer is one of the best Lowrance fish finder transducers, which aids you in your fishing experience in every way. It is a perfect product to locate dense fish areas. With SideScan, DownScan and Lowrance CHIRP, you receive high-resolution images of the surface below your boat on the screen.
- Smart Target View technology
- 3 in 1 Sonar scanning abilities: DownScan, CHIRP, SideScan
- The range can be improved
5. Garmin GT40-TM
GT40-TM is one of the best budget-friendly transducers, which is very easy to mount and install on your boat. With SideVü and ClearVü technology, the transducer sensor also proffers an intelligent, fast, responsive temperature sensor, which makes it a fully packed package.
- 1900 feet freshwater depth range
- Includes CHIRP ClearVü and SideVü technology
- Incorporates a fast, responsive temperature sensor
- The plastic structure can wear out in harsh conditions
FAQs – Frequently Asked Questions
Q. How Does a Transducer See a Fish?
A. The transducer can sense the air bladder and therefore see the fish. Almost every fish has an air bladder to live and adjust under the water. The air bladder has gas in it, and because of that gas, change in density is caused in and around the fish and the water. Because of this, the waves objectify it as a thing and bounce back, giving a signal to the transducer, which further interprets it as a fish.
Q. Can fish hear the sound of the waves produced by a transducer?
A. No, fishes cannot hear the sound of the waves produced by a transducer because these waves are ultrasonic and have a frequency way beyond their hearing. So you do not have to worry about fish getting scared from the transducer or running away from the waves because they absolutely cannot hear it.
Q. How Does a Transducer Know How Deep the Water is?
A. The transducer can make estimates on how deep the water is because of the help from the echosounder. The echosounder calculates the time difference between transmitting the sound and receiving its echo. Through that information, the transducer interprets how deep the water is or how deep the fish is.
Q. What Goes into the Making of a Transducer?
A. A transducer is made up of six different elements. They are Acoustic window, Piezoceramic element, or an array of elements, Housing, Cable, sound-absorbing material, and Encapsulating material. Some other elements are also used in the making of a transducer. But these six are considered the most valuable and major ones.
Q. Can a transducer interpret the type of bottom surface?
A. Yes, a transducer can interpret what a bottom is like It can tell whether a bottom is soft or hard and even distinguish between a clump of weeds and a rock. It is because the sound waves will echo off these surfaces in a slightly different manner, and a transducer can catch on this difference and make accurate interpretations.
Final Note
So, this was everything to know about a fish finder transducer and how to install a fish finder transducer. Now that you know all of the steps and precautions and importance of a fish finder transducer and how it functions, it is about time that you install yourself one.
Make sure to follow all the steps mentioned above accurately to get successful results and have fantastic fishing experience. Also, do not forget to always keep the precautions in mind. Following the precautions is as essential and necessary as following the steps.
So, to get accurate results with the best performance, make sure not only to follow the steps carefully but also to keep the precautions and follow them for successful outcomes and safety.
Now that you are aware of everything related to fish finder transducers, you are ready to enjoy its benefits and have a much better and smarter fishing experience. Stay tuned for more such information and updates regarding the fishing techniques and the different things of the fishing world.