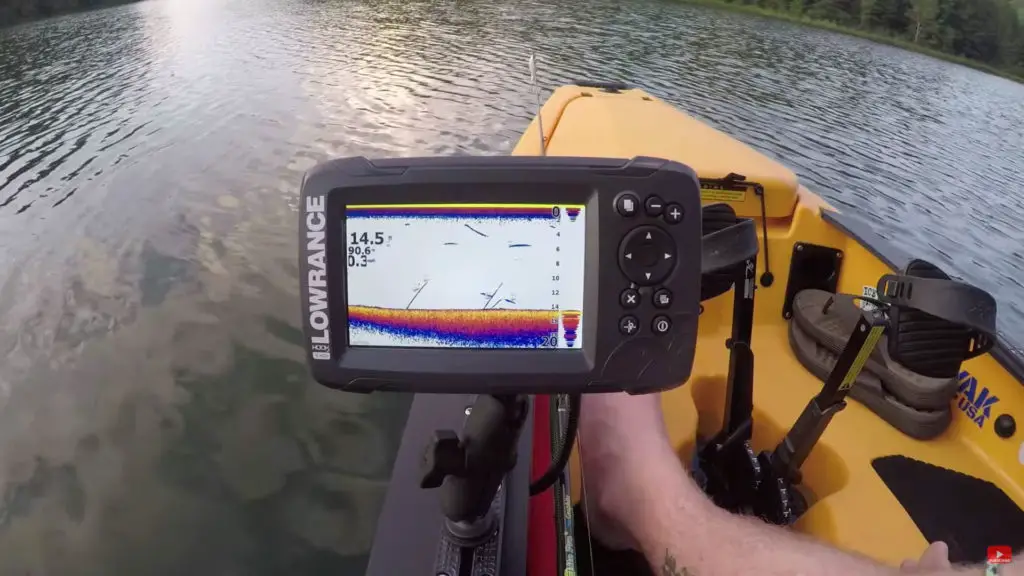
Fishing is all about having patience, and if you drive in search of your catch of the day, then you just need an extra bit of assistance to make your day perfect! One such cool device is a portable fish finder working on SONAR technology that lets you venture out in new territories to make the best out of your fishing trips.
A portable fish finder is surprisingly small enough to fit in your pocket, providing both convenience and ease of use. This device will offer guidance to your boat to go to places where there are more fishes. The best part is it is highly beneficial to locate all the fishes accurately.
However, with so many options available for the best fish finders, it is quite challenging to decide on the right model and style for you!
In this guide, we have shared some solid tips to help you in selecting the right type of product and a comprehensive guide on how to use a portable fish finder.
Table of Contents
- 1 How does a Portable Fish Finder Work?
- 2 Tools Required For Transducer Installation
- 3 Steps To Use A Portable Fish Finder
- 4 Precautions
- 5 Tips to Use a portable fish finder
- 6 hy is it important to know how to use a portable fish finder correctly?
- 7 5 Portable Fish Finder Models
- 8 Portable Fish Finders Buyers Guide
- 9 FAQs
- 9.1 Q1. Are all the Portable Fish Finder models waterproof?
- 9.2 Q2. Can we use any portable fish finder for Ice Fishing?
- 9.3 Q3. How can you carry out the mounting of a portable fish finder?
- 9.4 Q4. Can a portable fish finder be able to replace a map?
- 9.5 Q5. Are all the portable fish finders fully waterproof?
- 10 Some Last Words
How does a Portable Fish Finder Work?
The entire fishing game has witnessed a huge metamorphosis for the past few years. In the past, a boat without electronics and expensive sensors was just not sufficient to locate fishes; all you could do was guesswork. But with the introduction of some of the best portable fish finders, the process of finding fishes has just become way more unchallenging, especially for the professionals.
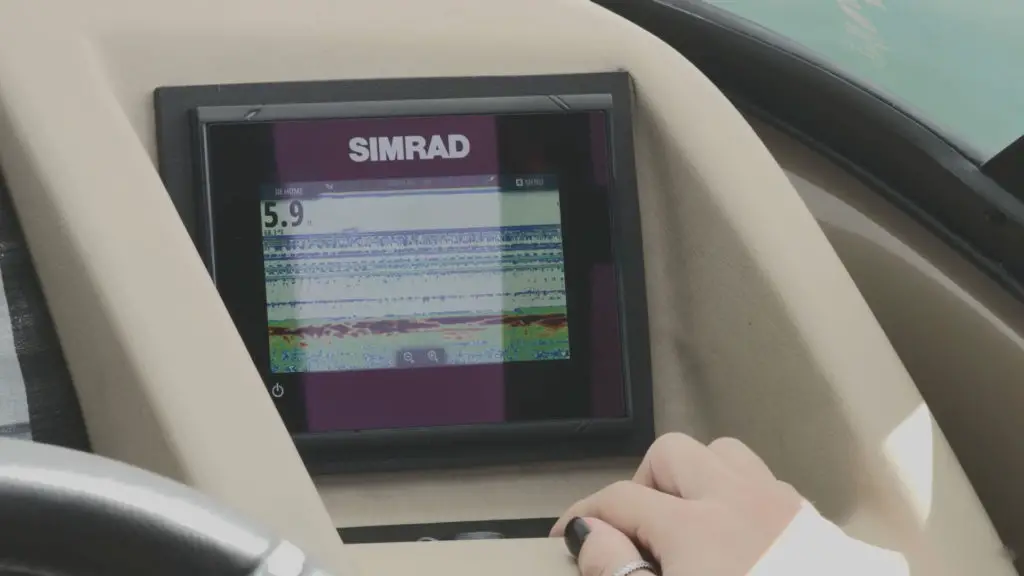
A portable fish finder device relies on SONAR – Sound Navigation and Ranging technology that makes use of sound waves to locate features and plenty of fishes beneath the surface.
Some of the critical features of a portable fish finder include :
- Ability to efficiently locate fishes
- It is also able to determine depth, features, and water temperature in a particular unit
- A way better option in comparison to boat-mounted type fish finders that are costlier
- Offers great flexibility
Nowadays, you will find a myriad of options available in the market for professional fishers as well as fishing enthusiasts that help in locating the fishes accurately. Lucky portable fish finder, kdr Bluetooth intelligent fish finder, etc. are some of the top recommendations that offer you promising accuracy and help find the optimum water temperature wherein fishes are most likely to be active.
Some of these devices are also provided with an additional transducer that could be lowered into the depths. In contrast to these, the castable fish finders have the feature that allows it to be launched away from the bank or boat.
Tools Required For Transducer Installation
Before you get started on how to use a portable fish finder, pre-install inspection is the first thing you need to do in order to check out the tools and supplies to install a transducer on your boat. Will you need an extra cable, or does your boat have pre-run power wires? Read about all these things before you run into a hardware store
1. Cable Wraps and Cable Ties
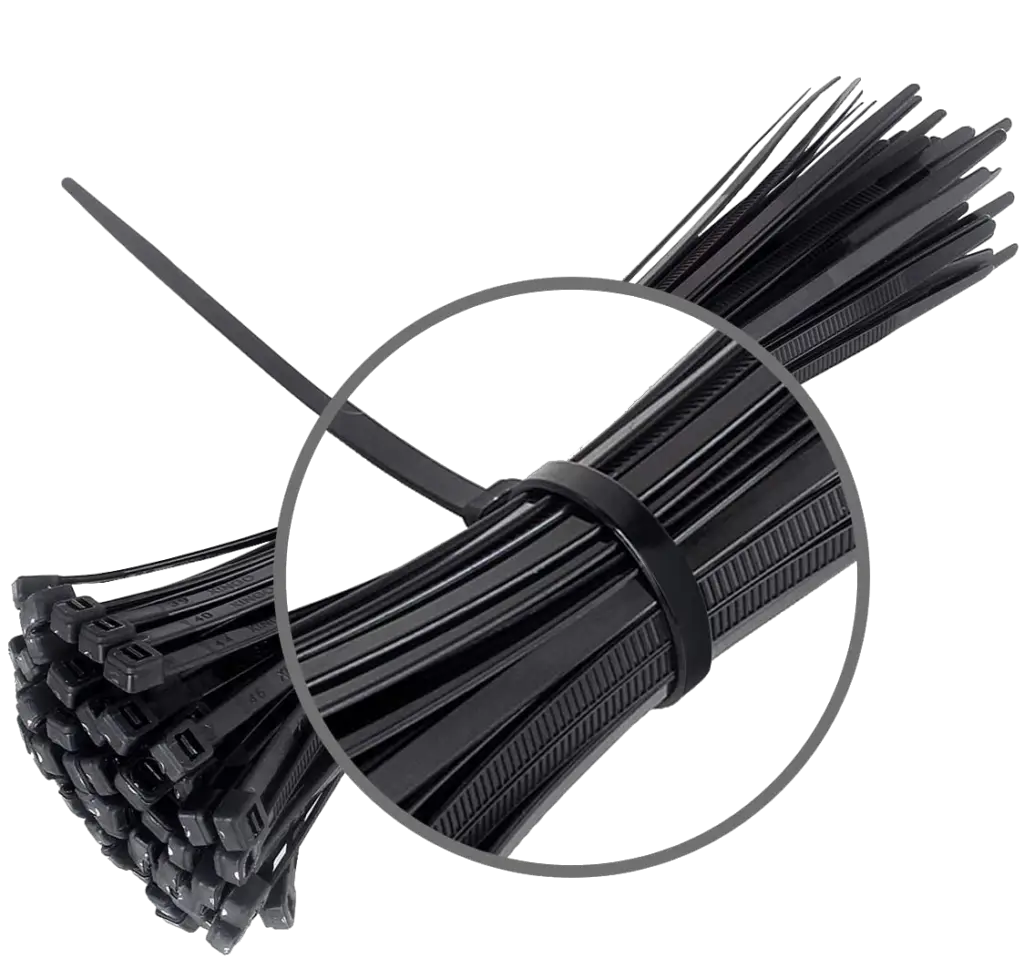
Your install will require plenty of cable ties to secure it, along with cable wraps for a better-looking install. Make a quick note to be professional while routing your cables to make the install look clean.
2. Fish Tape
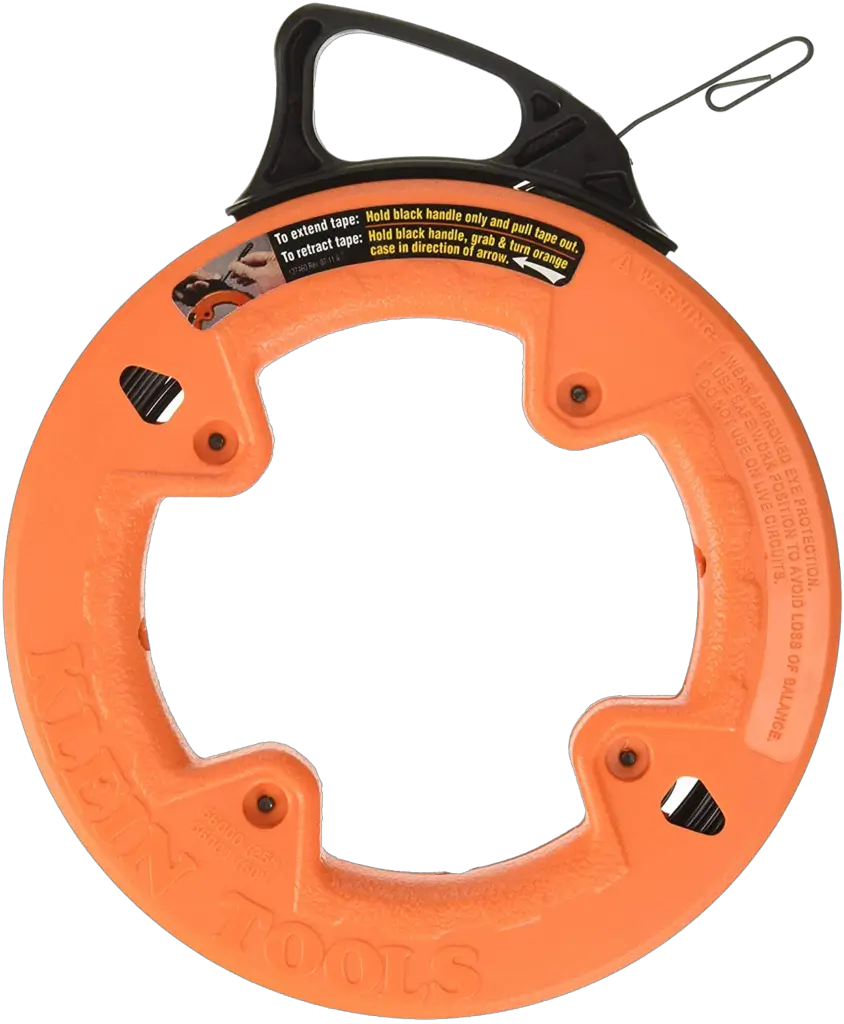
Being flexible enough, fish tape comes in handy while running power cables and transducers towards the cranking battery
3. Drill bits and cordless drill
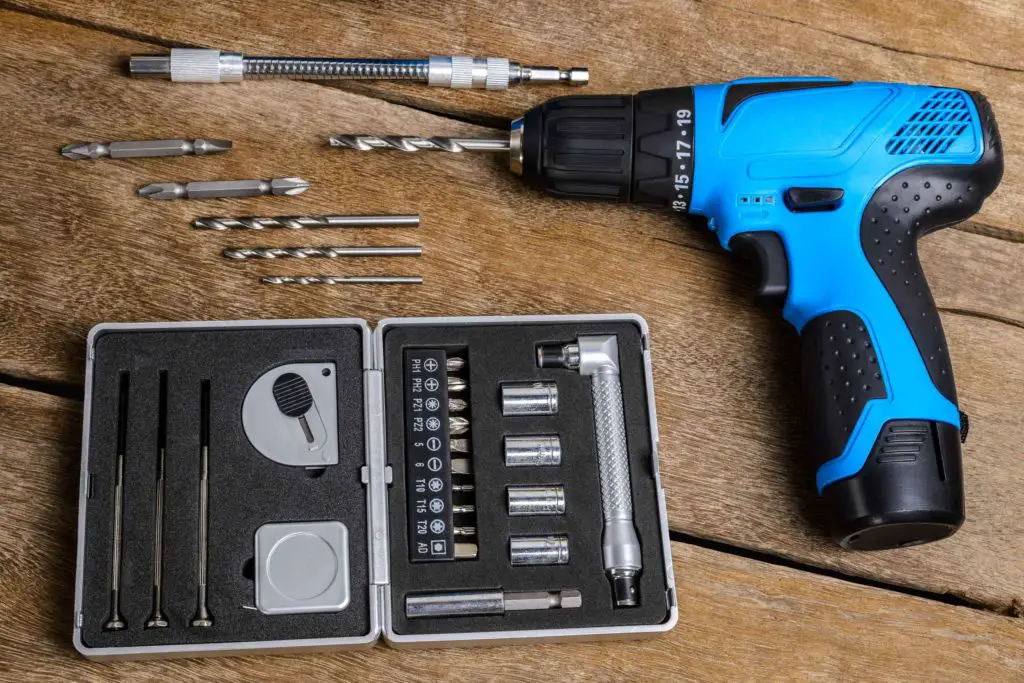
A good drill is something that you will require quite often during the pre-install sessions wherein you will have to mount the transducer or even drill the head unit.
4. Electrical tape/Shrink Tubing
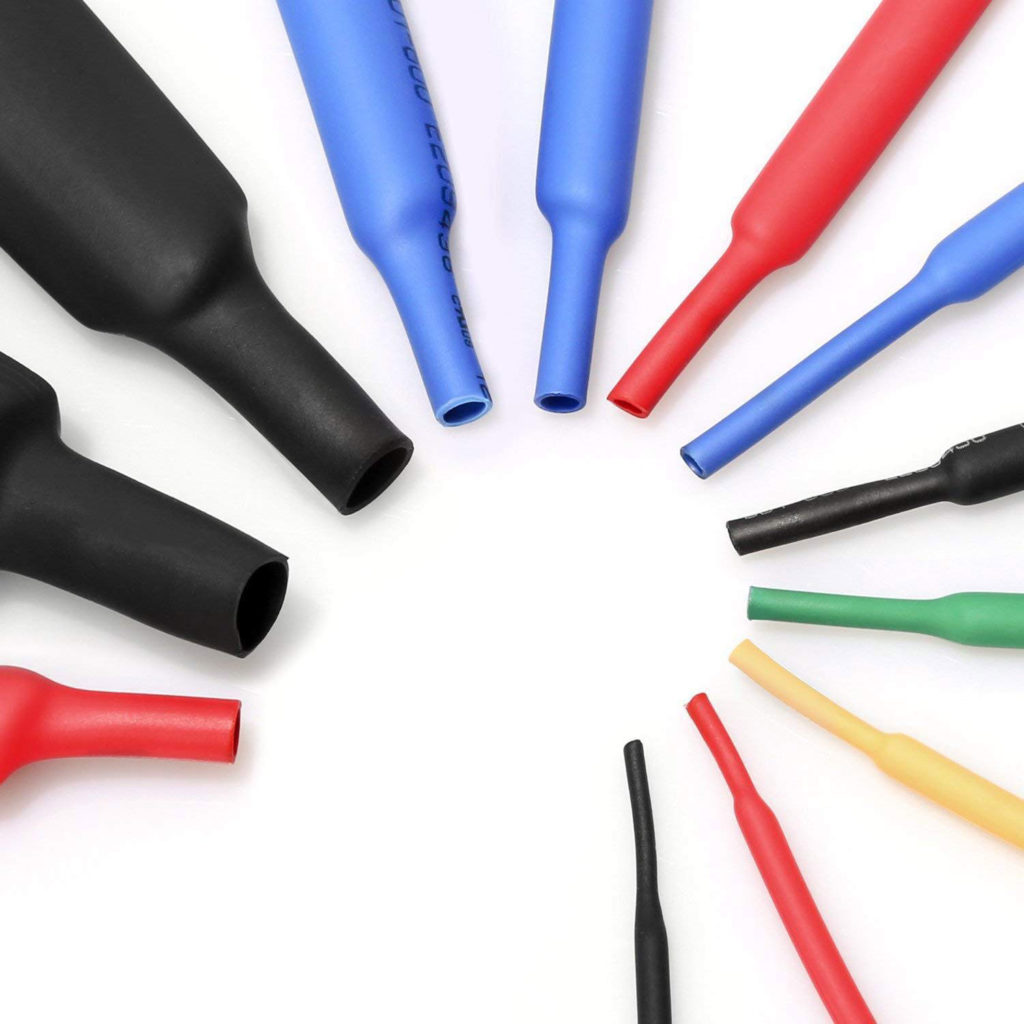
Most of us prefer using shrink tubing to cover up wire splices to build a moisture-resistant connection. On the other hand, using an electrical tape wouldn’t appear professional or cleaner.
5. Heat gun
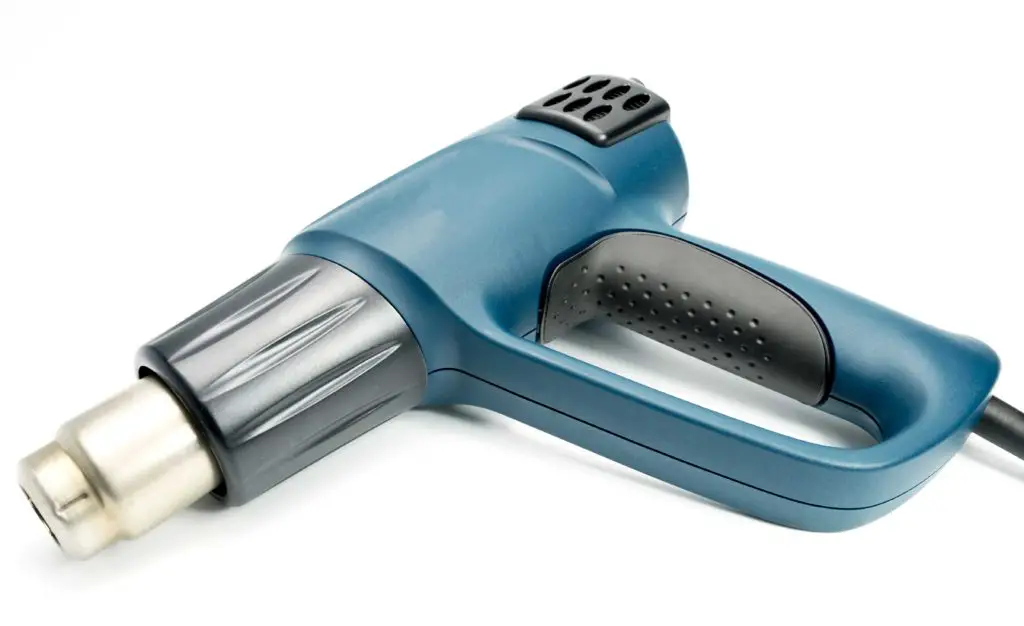
A heat gun is utilized to shrink the tubing present over the connections. Proper care must be taken while handling the heat gun.
6. Fuse kit and Inline Fuse Holder
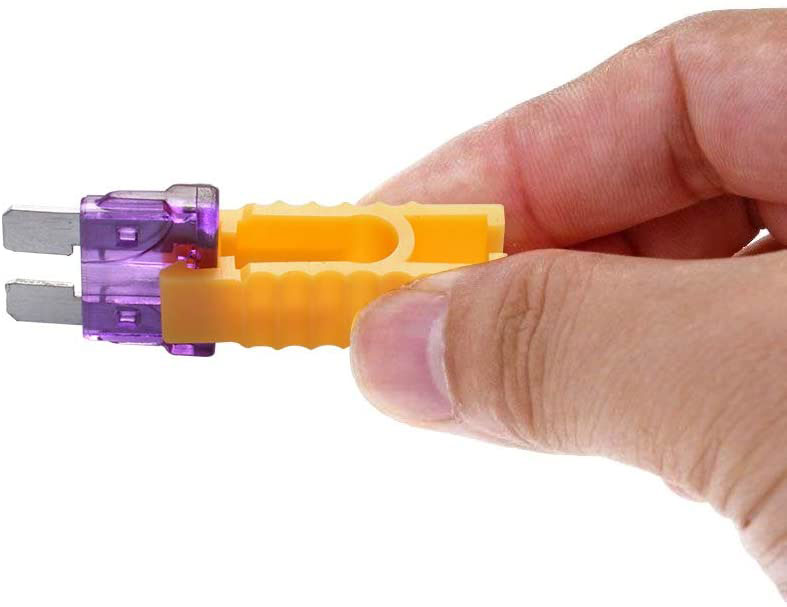
An inline fuse kit helps to protect the central unit from current and voltage spikes.
7. Wire stripper or crimper
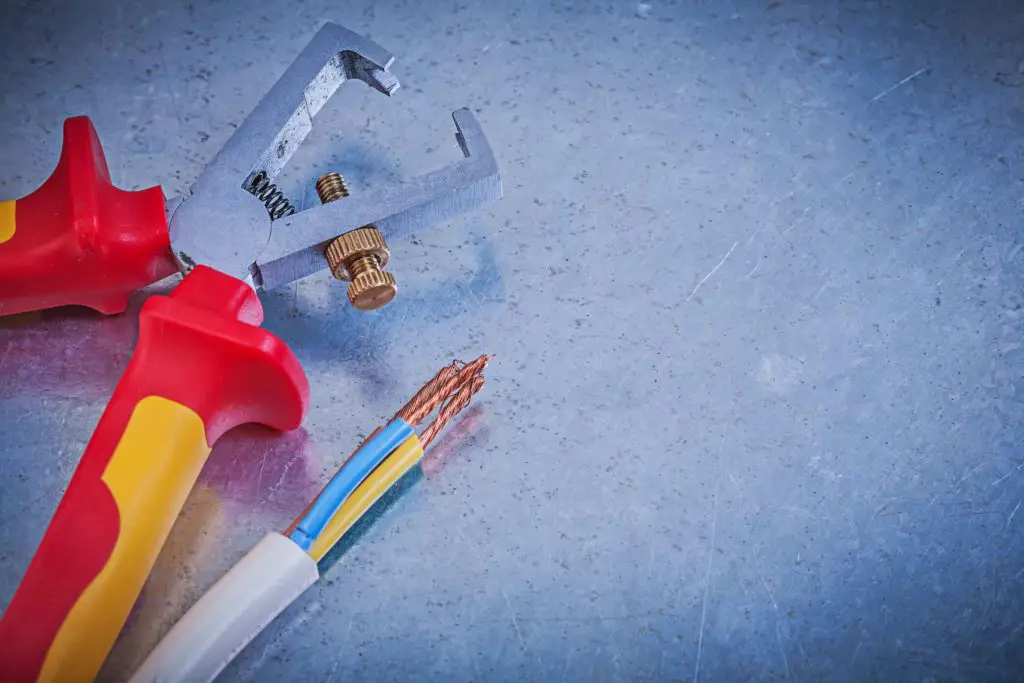
It is a crucial hand tool required to crimp splices and strip wires.
8. Transom saver block
Plastic blocks like these are prominently found on the transoms of most aluminum boats. This tool helps you move the transducer as per your convenience to an appropriate location.
Steps To Use A Portable Fish Finder
Newbies may initially require to get a grip on the device so that you are more comfortable with operating it as time passes by. While most of the time, technology can be quite intimidating, but in the case of this device, you need not unnecessarily stress over it.
Even though every model is unique in terms of its features, yet the basic knowledge remains constant. Here’s a comprehensive guide on how to use a portable fish finder that will surely turn out to be your go-to guide for accurately using a portable fish finder!
We have listed down a step-by-step guide that will help you get started.
1. Read the Instruction Manual
As you purchase a portable fish finder, the first and foremost thing is to open the instruction manual. You need to read it entirely and check out its working. Once you are clear with the use of all the buttons, it is time to learn about how you can locate a fish quickly!
2. Turn off the Fishes
One of the first things you will notice on any fish finder is the fish symbols that are quite an unsatisfactory representation of the actual data. Even though it helps demonstrate the possible location of the fishes, yet these symbols won’t correctly portray an accurate or clear picture of the real scene happening inside the waters.
To your luck, this portable fish finder is way smarter than your fish symbols – which means that you get to turn off the fish symbol option as and when you like. Turning off this option will assist you in interpreting data in a much more elaborate manner.
3. Keep the other Auto Functions
Apart from the fish symbols that are way too childish for the professionals and newbies, the rest of the auto functions are a lot more satisfactory and beneficial. These default settings are specially built for the beginners so that they get a clear image of the entire procedure.
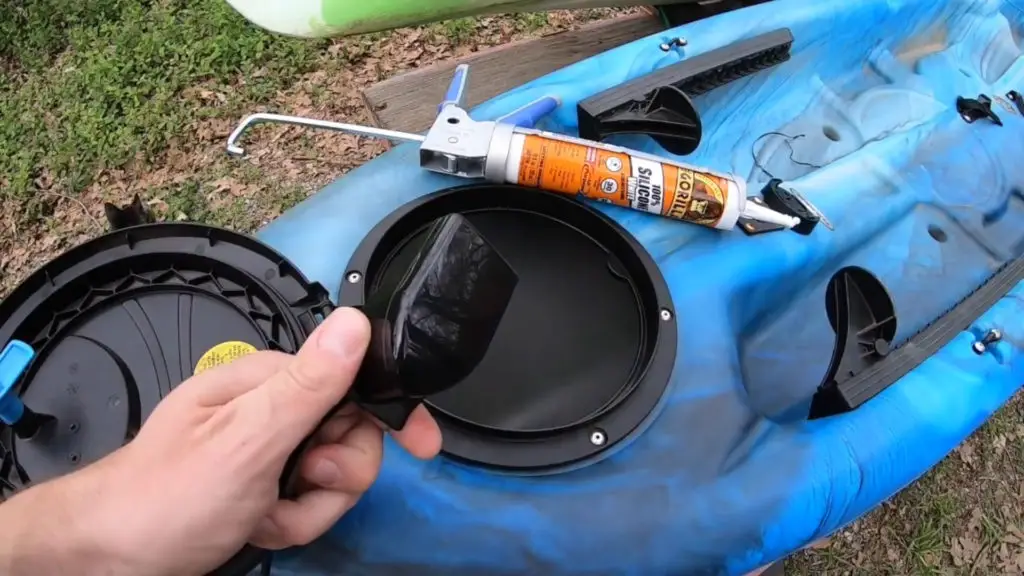
4. Peaking the transducer
In some instances, you might come across glitches in these automatic functions that could send funky signals. A situation like this indicates that your equipment requires some tuning.
The process of peaking a transducer simply refers to the process of adjusting the sensitivity to the correct one. It can be done by simply changing the range to up-to thrice the depth. Later on, you need to turn off auto function for sensitivity.
Keep on increasing the sensitivity until you can see another line at the bottom of your screen. After this, you can decrease the sensitivity to get rid of clutter or noise, however, while keeping the bottom intact. All this will allow you to view a better image of things happening under the waters.
5. Reset the Range
Once you have performed the process of peaking the transducer, make sure to reset the range and put it to the place where it belongs.
6. Zoom feature
You can now get closer to the fishes by utilizing the zoom features. You will be able to examine the entire school of fish because of the beam penetrating the tight space.
Precautions
The entire installation process has a lot going on, from using heat guns to many other tools and supplies that could harm you if not performed carefully. It is not just about how to use a portable fish finder but also how to use it correctly.
- Masking tape ought to be used in the areas of the fiberglass where you plan on drilling holes. The main reason for using this is because it helps prevent cracking or chipping of the gel coat while drilling
- Make use of gloves while working on the installation process to prevent having possible fiberglass cuts
- You need to be cautious while handling a heat gun and using it near the boat carpet or fiberglass. Make sure that the heat is nowhere pointing out towards the carpet or the gel coat. It is typically done since the boat carpet tends to melt quickly while coming in contact with heat. Additionally, the gel coat itself also be discolored or simply melt away
- Do read the manufacturer’s instructions before placing the transducer since you are most likely to mess up that part during the installation process
- Try making use of a transducer shield to protect them during bumps since they are one of the most expensive parts
Tips to Use a portable fish finder
Even though technology can come in our way at times, most models will still share some same basic features. Here are a few tips and tricks for enjoying a better fishing experience.
- Turn on your portable fish finder and instantly pair it to your smartphone (if it applies)
- Change the settings as per your preference
- You must travel the fishing line into your area of water along with the transducer connected to it.
- Keep checking the display to see if any fish symbols appeared.
Note: The step is where things start differing for every model. In each model, the fishes are represented differently. Don’t be confused; make sure to read the manual for better understanding
hy is it important to know how to use a portable fish finder correctly?
Using a portable fish finder correctly will allow you to enjoy numerous benefits as a professional or even as newbies. The key to a successful fishing trip is your ability to master the device and employ it to its maximum potential.
- Knowing how to use a portable fish finder correctly will help you travel to places that aren’t explored by the regular fishermen
- Moreover, its versatility is quite commendable. Learning this device can instantly be a boon to almost anybody, no matter why they prefer fishing
- Using the device correctly can also help you get through weedy and murky waters that may hinder your fishing goals
5 Portable Fish Finder Models
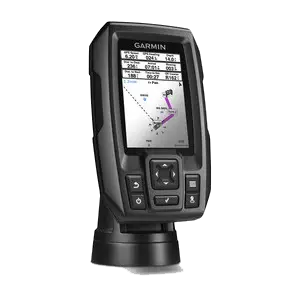
1. Garmin Striker 4
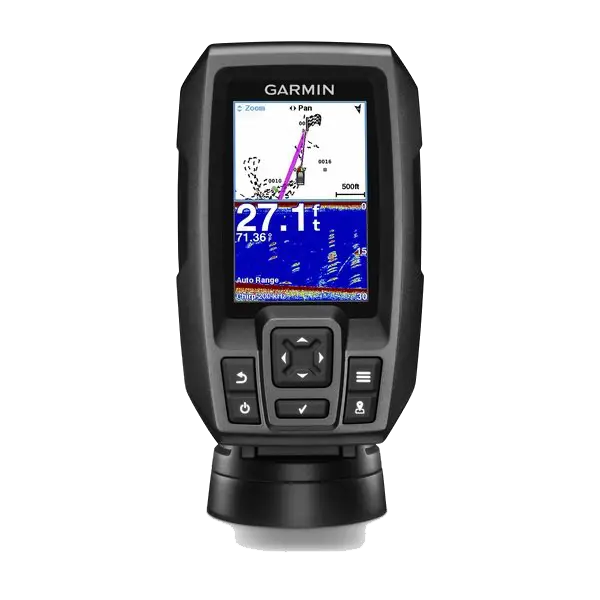
Garmin Striker 4 is one of the best Garmin fish finders so far that lets you mark your hotspots so that you can easily return when required. Its smooth graphics are just perfect enough to enjoy uninterrupted imagery while a switch in between the scales. From a display of speed data to a built-in flasher, this high-performance device is the ultimate combo of the best fish finder with maps.
- Ability to mark spots using highly sensitive GPS
- Waypoint map for easy navigation
- Speed is displayed on the screen
- Provided with a built-in flasher
- Garmin Striker 4 review suggests that the networking options in this device are limited with no provision of unit cover and current coordinates.
2. Lowrance HDS 7 GEN
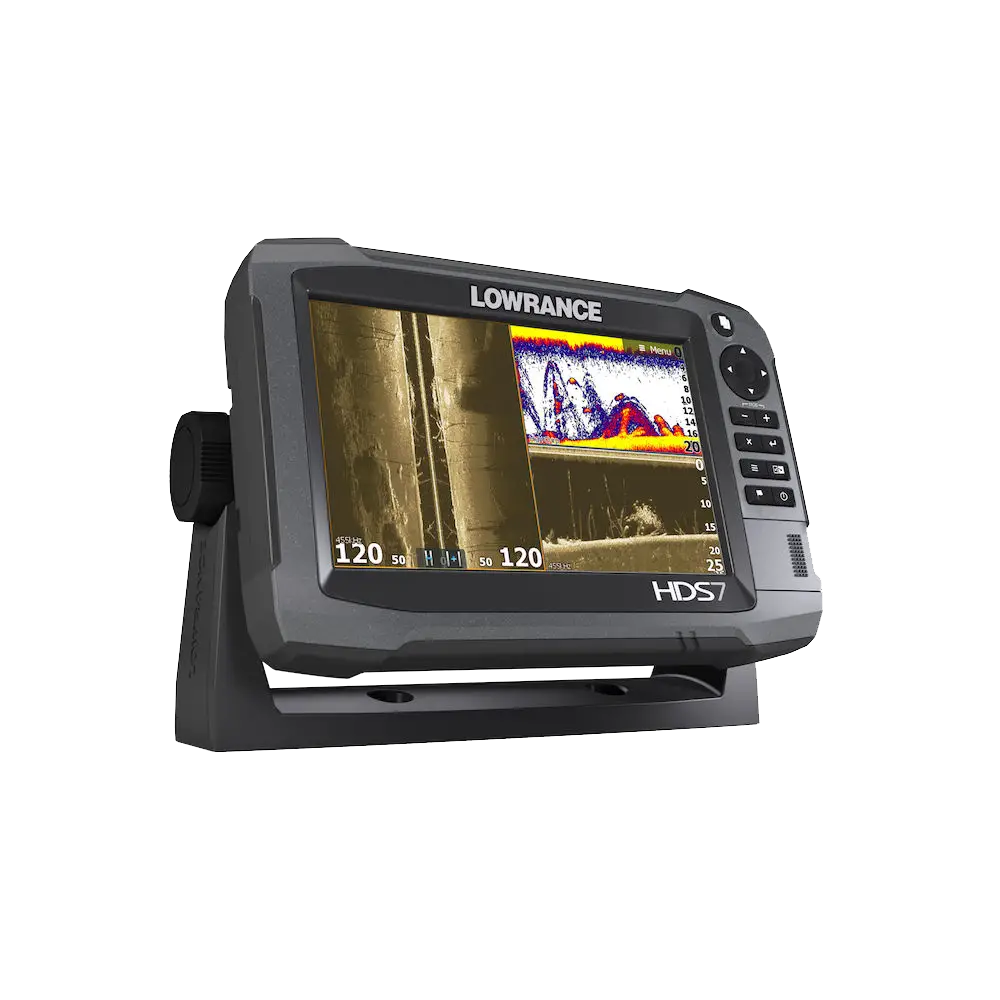
This package is just the right choice for anglers who have transducers already installed on their boats that are compatible with this device. Since this device doesn’t come with a transducer, you might have to buy one if not installed. This third-gen fish finder is indeed the best Lowrance fish finder for anglers.
- Availability of extra screen along with increased pixel
- According to Lowrance HDS 7 Gen 3 Review, it is super accurate with extensive mapping
- The Touchscreen feature is easy to use with better sonar imaging
- It is a bit expensive
3. Humminbird Piranhamax 4
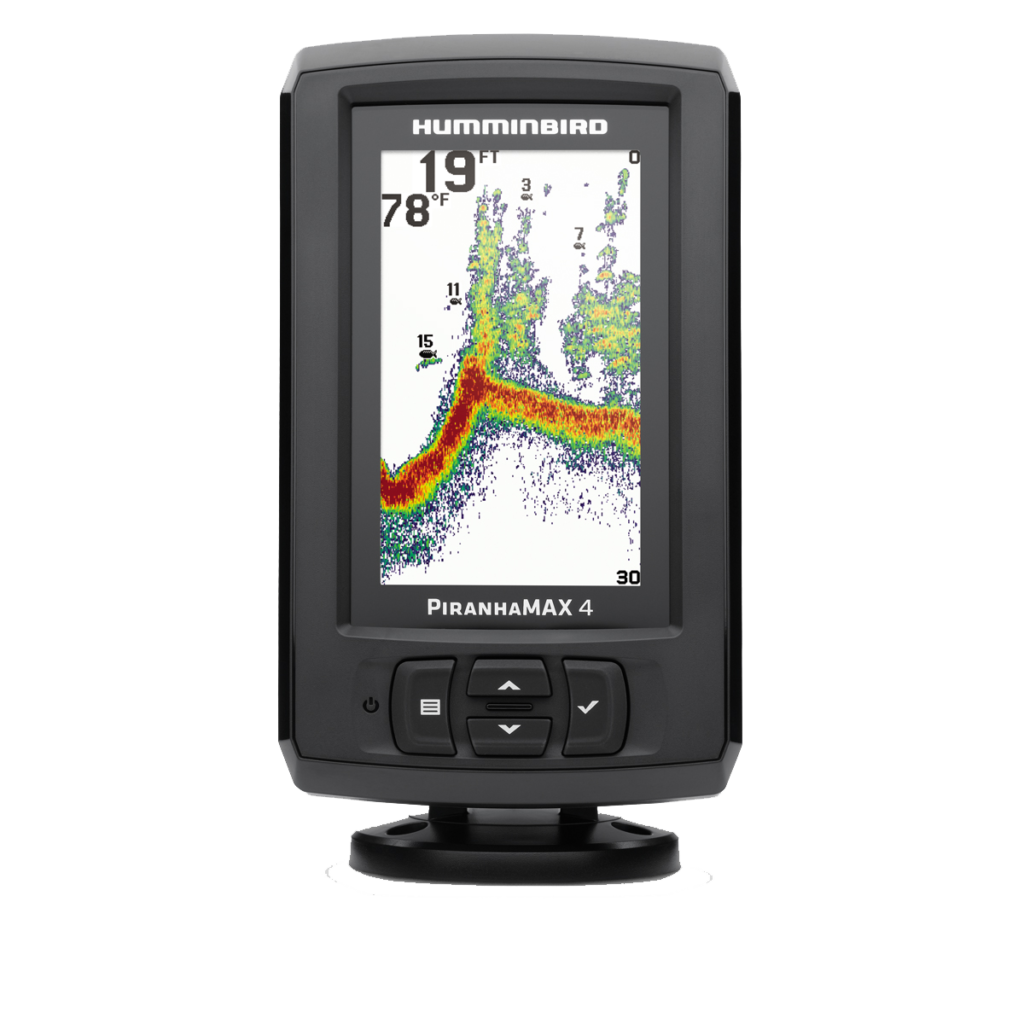
Supported with a fresh perspective and modern styling, Piranhamax 4 comes with depth alarms, seamless interface, and other advanced technological features, a typical reason why it is yet another best humminbird fishfinder.
- It consists of two sonars
- This device is easy to use and Budget-friendly
- It is portable and comes with XNT 9 DI T transducer
- Does not come with software updates
- Does not support unit cover and DualBeam Plus
4. Humminbird Helix 9
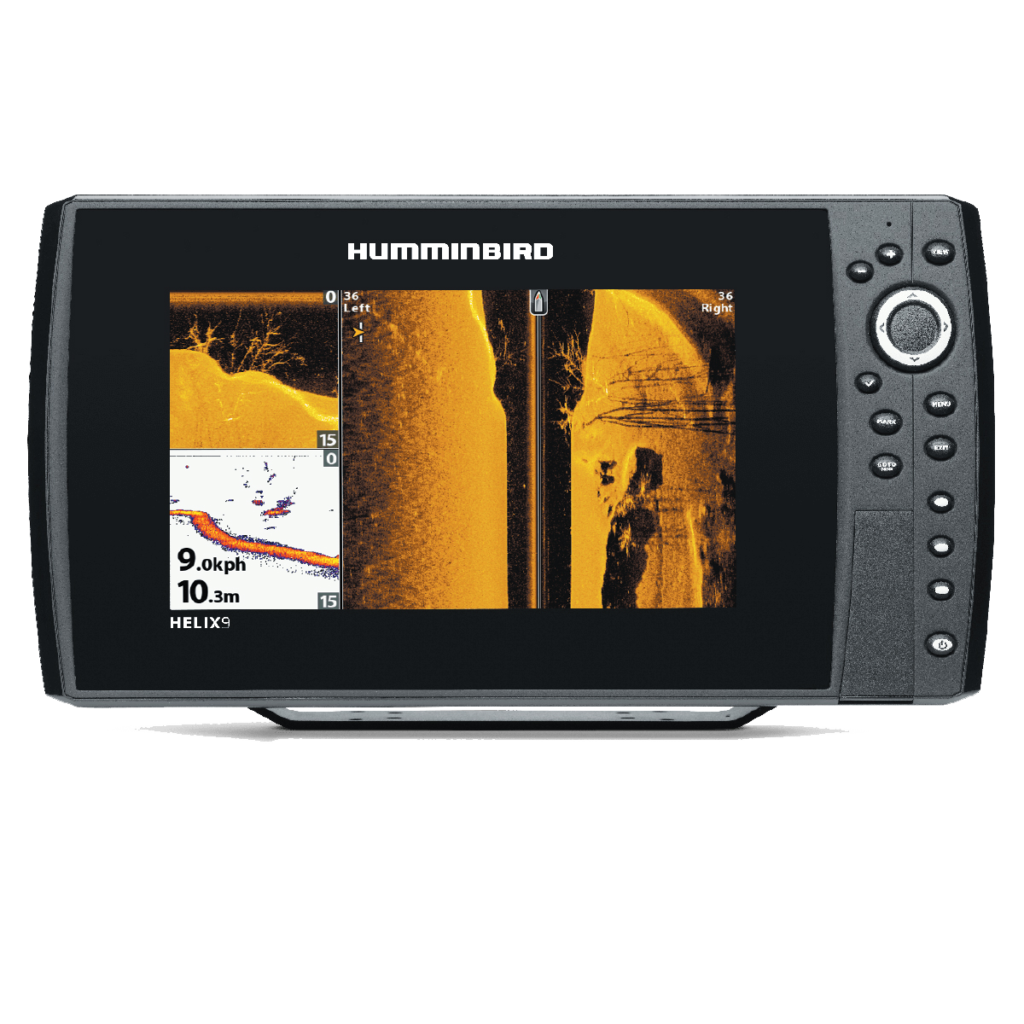
With the help of this fantastic technology, anglers will now have access to some great features such as a built-in base map to the AutoChart Live and various networking options. Helix 9 G3N comes in a smaller and convenient package that will hardly occupy any space on your boat but certainly won’t compromise with its features.
- It allows you to take multiple sonar recordings and snapshots
- This device comes with additional features such as AutoChart live and precision GPS
- Its software is upgradable, and the overall device is easy to install
- Featuring down imaging, this device also comes with plenty of sonar features
- Even though it is easy to install, Humminbird helix 9 review suggests that it is quite tough to master
- It lacks CHIRP sonar
- Mapping options are limited
5. Garmin Striker 4cv
The 4cv model is quite similar to the 4 model; however, the former is more into improving fishing performance. It is considered to be one of the most affordable models of the fish finder and is packed with top-notch Garmin transducers and supports speed display features. Visibly, this device offers anglers with a higher clarity level and a unique feature to mark docks and various other locations as per convenience.
- Supports GPS with higher sensitivity
- It is affordable and compact
- Features CHIRP technology along with speed calculations
- Does not support built-in maps
- Does not have NMEA connectivity or microSD
Portable Fish Finders Buyers Guide
1. Check For Key Features:
While going through the stores or browsing online, look out for key features such as the power rating, quality of transducer, and display quality, since they play a crucial role in your overall fishing experience. Having a quality display will help you properly analyze the area and readings for a better catch, whereas a powerful unit will help you during depth fishing.
2. Excellent Connectivity:
Some of the other aspects that you need to search for are better connectivity for analyzing maps while sitting at home or simply sharing with your friends; a screen size that you are comfortable to work with.
3. Right Cone Angle & Frequency:
Having a perfect cone angle decides whether you will get a broader picture or not. From shallow water fishing to deep fishing, frequency adjustment plays a crucial role, a typical reason why one must look out for this feature as well.
4. Waterproof:
As funny as it sounds, not all of the portable fish finders are waterproof. The catch is that you need to be careful while going through the description of the product before purchasing it. Transducers are always waterproof, but it’s the screen that is prone to possible damage. Therefore, one of the best ways of maximizing your investment is to opt for waterproof fish portable finders.
5. Budget:
Ultimately, your main goal would be to stick to your budget that you drew up to buy your portable fish finder. However, the price factor will affect the features coming along with the product, yet at the end of the day, the sole purpose of this device is nothing but to find fishes.
FAQs
Q1. Are all the Portable Fish Finder models waterproof?
Answer: It is not a compulsion that all the portable fish finders are waterproof. However, most of them are waterproof. For better knowledge, it is best to go through the manufacturer’s guide thoroughly since each make or model comes with varying specifications. Some of them might be moisture resistant to minor splashes, but they might get damaged when submerged adequately.
So, it is a must to check out the waterproofness rating before you plan on purchasing the device. Accidents are bound to happen, and since fish finders are quite expensive, it is best to take necessary precautions.
Q2. Can we use any portable fish finder for Ice Fishing?
Answer: Yes, using a portable fish finder for ice fishing is definitely possible. But it is recommended that you first drill a hole in the area of ice under which you intend on fishing. Dip your device into the water to make the process less time consuming and more manageable. In case you wouldn’t want to take up such a hassle, you could simply move away as much of the surface snow as possible. Find a suitable flat surface wherein you could place your device.
A quick tip: Pour water on the ice layer before laying the device to get an accurate reading throughout the area.
Q3. How can you carry out the mounting of a portable fish finder?
Answer: The answer to this question will lie in the specifications provided in the manufacturer’s guide. The make and model of the fish finder plays a crucial role in this. Different fixings will tag along with different models. However, the traditional way of mounting a portable fish finder is through the suction cups that are secured to the transducer. Adjust the suction cup angle first to align the fish finder before locking the same properly.
Q4. Can a portable fish finder be able to replace a map?
Answer: The answer is no. In case your portable fish finder doesn’t come with an integrated GPS, you will have to use a map along with it. If your device has GPS, then you might as well leave your map at home.
Q5. Are all the portable fish finders fully waterproof?
Answer: Sadly, they aren’t. Most of the cheaper models do not come with this feature. Some might show slight resistance to water, but most others will instantly fry off. However, many of the expensive fish finders are entirely waterproof.
Some Last Words
We hope our handy guide will surely be of great use to help you learn about how to use a portable fish finder correctly! Well, it is time to have a look at the plethora of options available while buying this device.
You will find it easier to decide on which portable fish finder is ideal for your fishing requirements. Don’t forget to read the buyer’s guide as it will aid in making an informed decision in a jiffy!